Showing posts with label Tutorial. Show all posts

Saturday, February 19, 2011

Felt Flower Tutorial


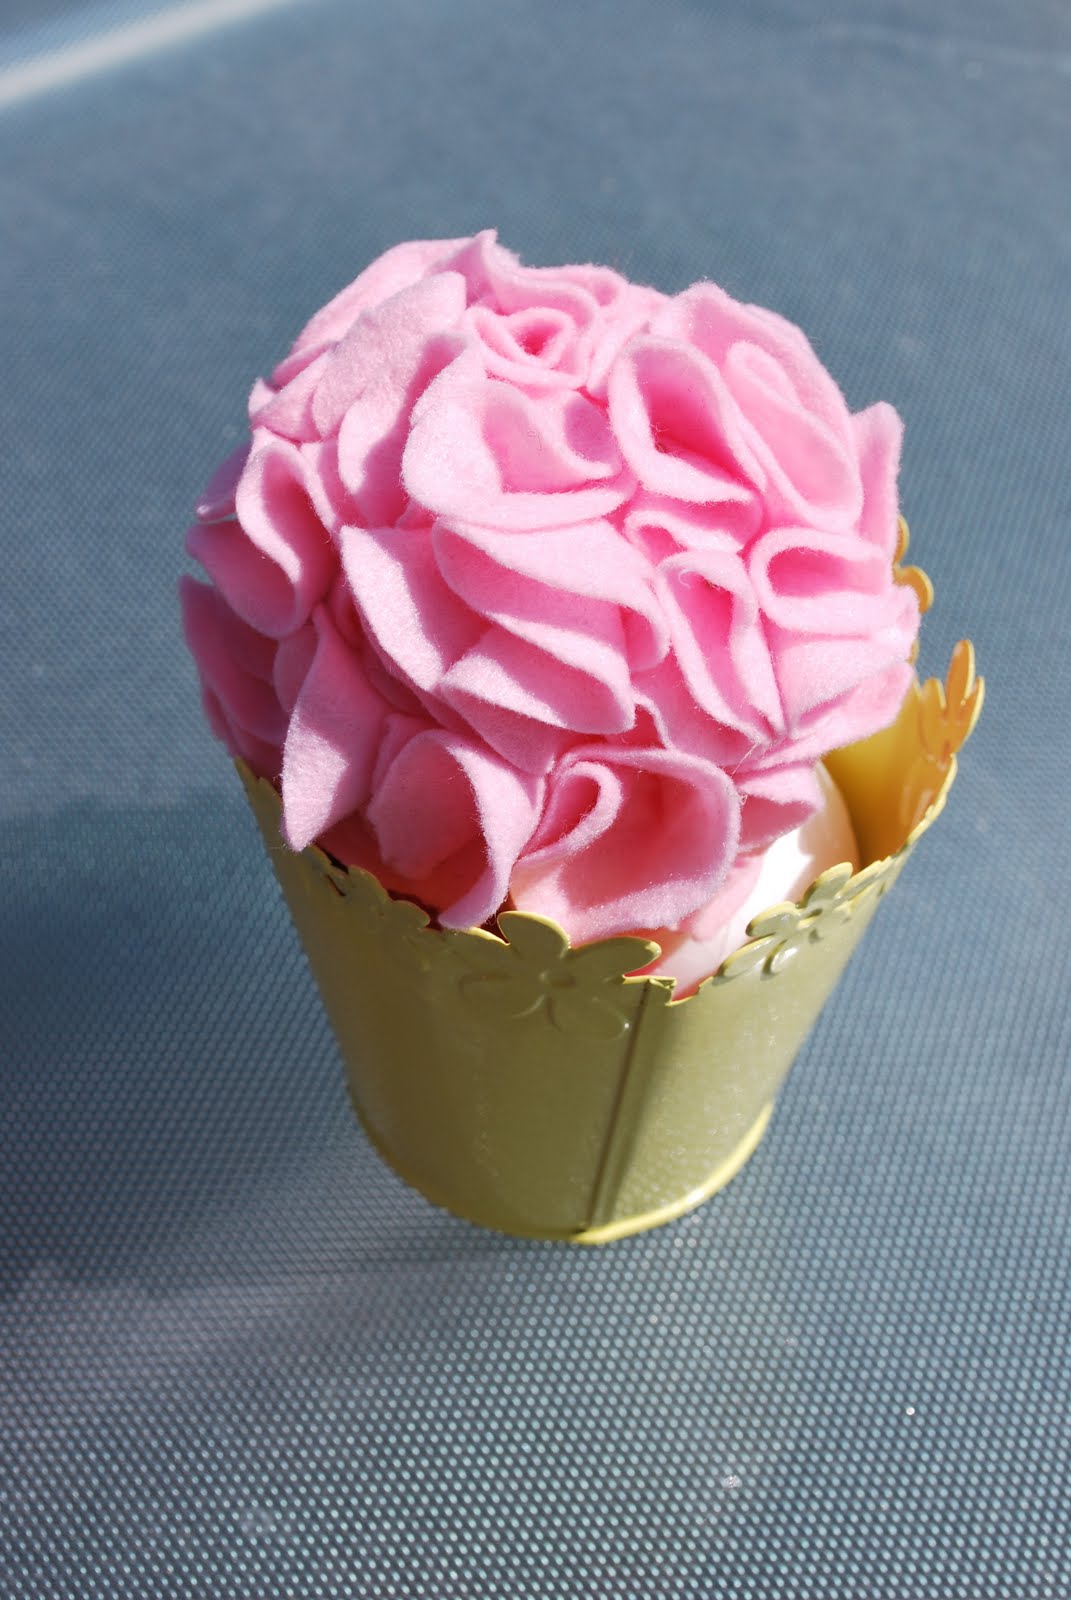
As part of Charlottes 1st birthday party I made these gorgeous felt flowers

So simple just cut out about 40 5cm felt circles and starting with one, fold in half then fold half in half again.. pictures make this much easier to explain! then pin into a polystyrene ball.


The ingredients


Fold your felt circle in half


Then fold half the half in half again


Stick a pin through the middle and into a polystyrene ball


Continue until your ball is covered.....


Wednesday, February 16, 2011

Candy Wrapper Tutorial


These candy wrappers are very simple to make and everyone LOVES them!!! you can adjust the size for any candy but these measurements are for mentos minis which come in a multipack in the candy isle :)

These are the dimensions I use, make a box this size in your design program then multiply to get 5 across and 4 down per A4 document and add you design placing the text in the middle.


Print and cut to template lines.
Unwrap all your little mento's and rewrap with your super cooler wrappers!
And that is all folks! ENYOY!!!

Thursday, February 10, 2011

Reversible Bag Tutorial

I've spent hours looking for the easiest bag tutorial on the net and this one wins hands down!
It can be whipped up in an night and is so dam cute!!! Total cost of this bag was under $5!

Monday, February 7, 2011

Little Girls Skirt Tutorial


This is my very first attempt at a tutorial and about the 5th thing I have ever sewn!


I have tried my hardest to explain everything as simply as possible :)

Add Image

Happy Sewing and please post pictures on the Molly the Bear Facebook page if you do make a skirt, I'd love to see!


Materials


I have used a fat quarter from Sew Prettys Riley Blake quite contrary range

Some trim from a fat quarter in the same range

Scissors

Elastic


You will not believe how easy this comes together!


Step One: Skirt piece


Fold your Fat Quarter in half and cut then pin right sides (the pretty sides) together down one of the short sides. You are about to sew the two together to make one

long piece.


SEW!

Then open the seam you have just sewn and press it (iron it)


Step Two: Trim Piece


Cut your trim – Mine was 6cms which works out to a 2.5cm trim when finished but if you want a fatter trim go for it! And it was the same length as the first fat quarter (you want your trim to be the same length as you skirt piece).


Pin right sides together as
in step one and sew to make one lonnnng piece of trim.
And press the seam.


Step Three: Connecting the two pieces


Now lay both pieces right sides together (lining up the seams) and pin.

SEW! I just use my foot as a guide


Now fold the trim down and iron the seam flat


Fold the raw edge of the trim up about 5mm the press with iron


Now fold and press the trim in half up to the seam and SEW! Nice and close to the edge.


Fold the waist down 1cm then press and then fold over again 1.5cms and press the SEW! Close to the edge.


Step Five: Assembly


Lay out your skirt and give it one last iron


To get the correct length of Elastic measure your little ones waist and subtract an inch.

Attach a safety pin to one end of the elastic and thread through the waist.


Once all the elastic it through you can safety pin the end of the elastic to the skirt so it doesn't get lost in the waist.


Now tie elastic in a knot.


And pin right sides together for the last seam. SEW! I run over the elastic a few times and cut off the knot.


Press the last seam and turn in the right way.....


Paula x


Don't forget to check out Molly the Bear on Facebook :)